How To Change A Flat Tire
Each car has a different approach to change a spare tire. This is a general procedure to change a flat tire on most cars or trucks.
1. Get your vehicle to a flat safe spot
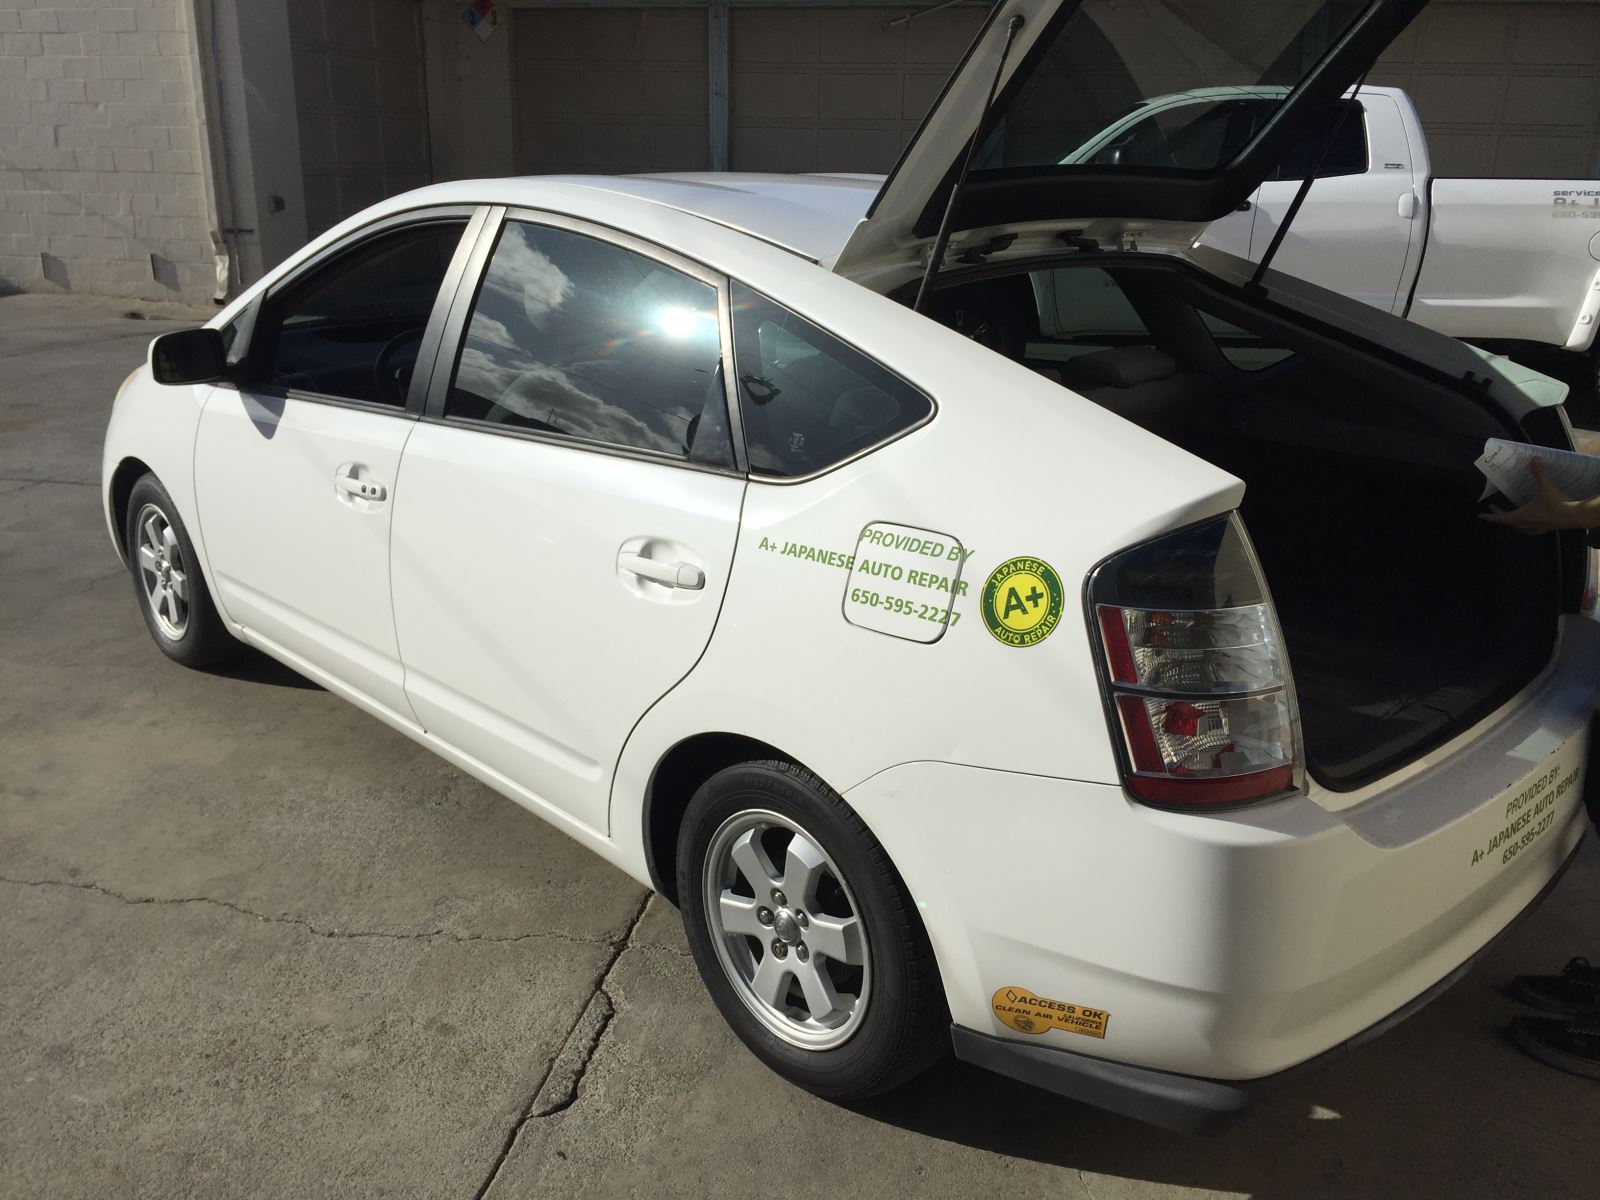
Find a location away from danger and fast moving traffic. It is okay to drive the vehicle for a short distance on a flat tire. Turn your hazard lights on, drive slow, and avoid sudden acceleration, turns, or braking.
2. Find the location of the tools you need to change the spare
.JPG)
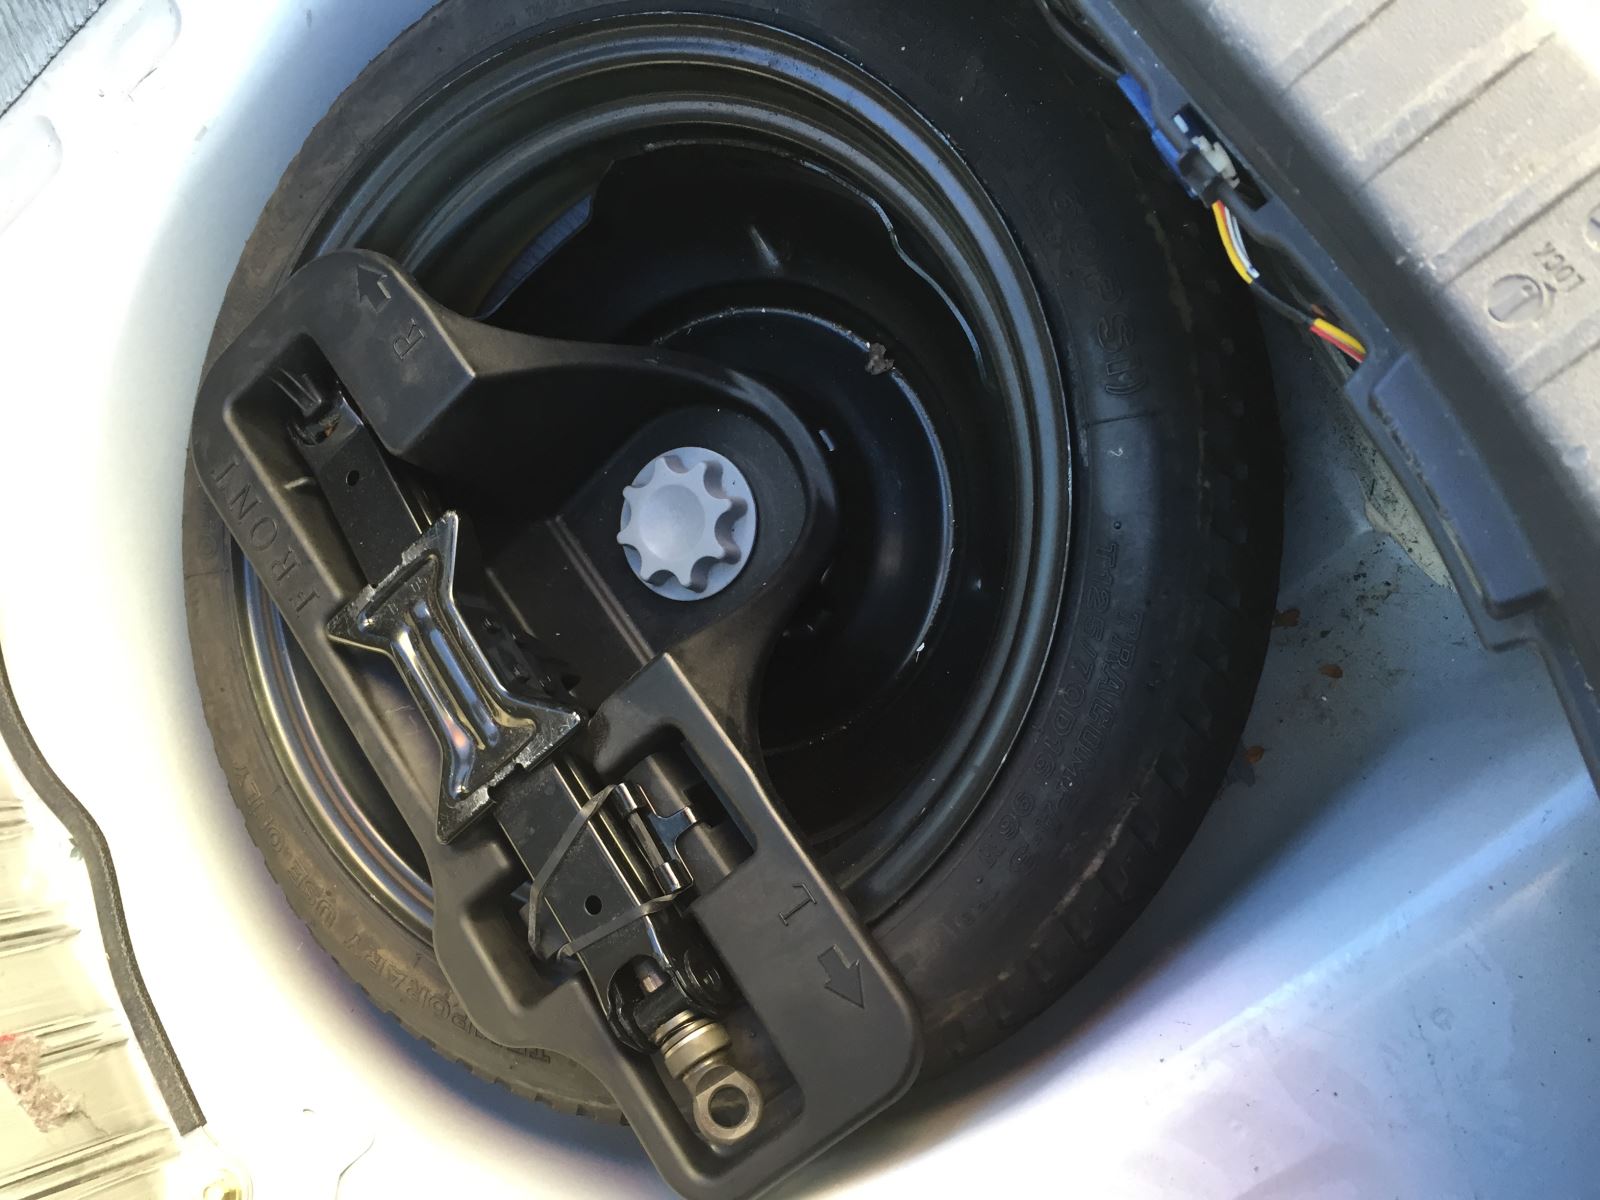
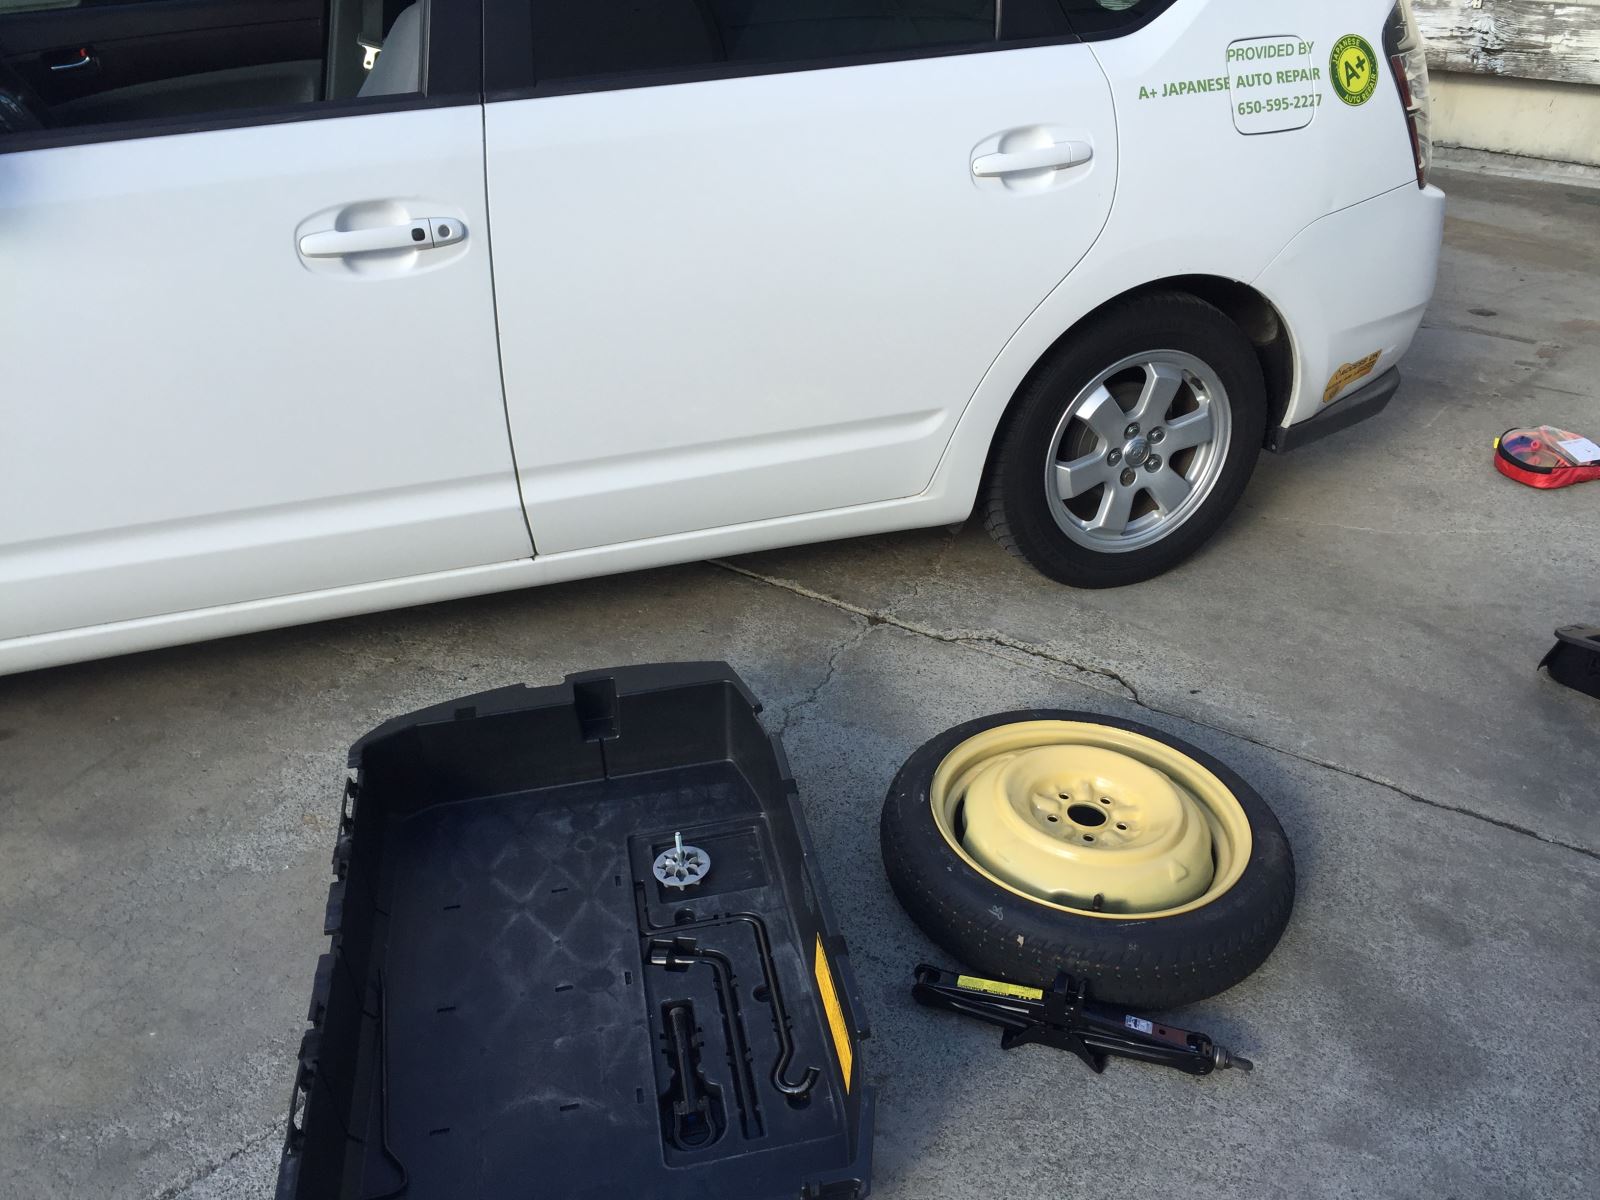
- hydraulic jack (to lift the vehicle)
- tools to remove the spare tire (if needed)
- tire wrench (to remove and tighten the lug nuts on the tire)
3. Find the location of your spare tire and remove it
Usually located in the trunk, under the rear of the vehicle, or in some mini vans the spare tire is located under the middle row seat.
4. Set the parking brake and put the vehicle in park
If possible, you will also want to put a large rocks or wood in front and behind the remaining good tires. This should keep the car from rolling while changing the bad tire with the spare.
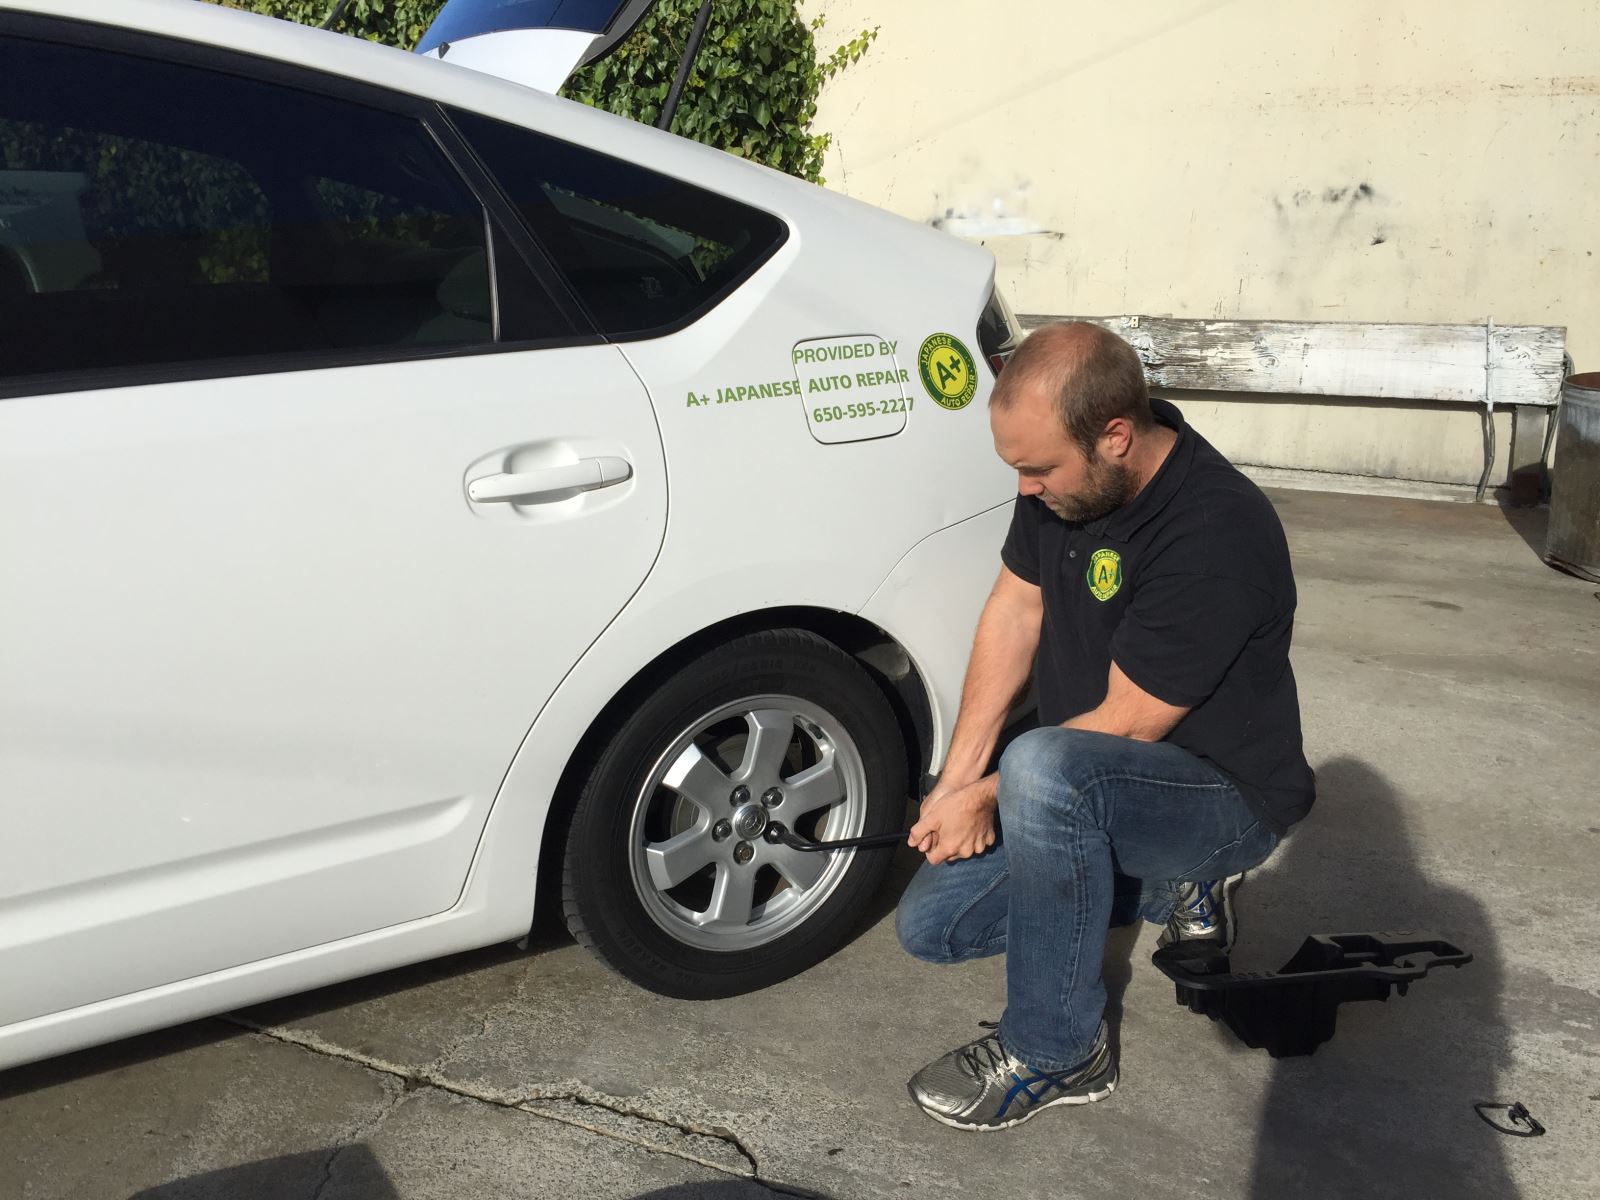
5. Loosen the lug nuts from the flat tire but don’t remove them yet
Look at top of the nut and turn it counter clockwise. I would recommend to pull the tire wrench in order to loosen the lug nuts. If you push the wrench and the wrench slips or the lug nut breaks loose, chances are you will skin your knuckles!! OUCH!!!
**Note: Loosing the lug nuts about two turns but don’t remove them yet.
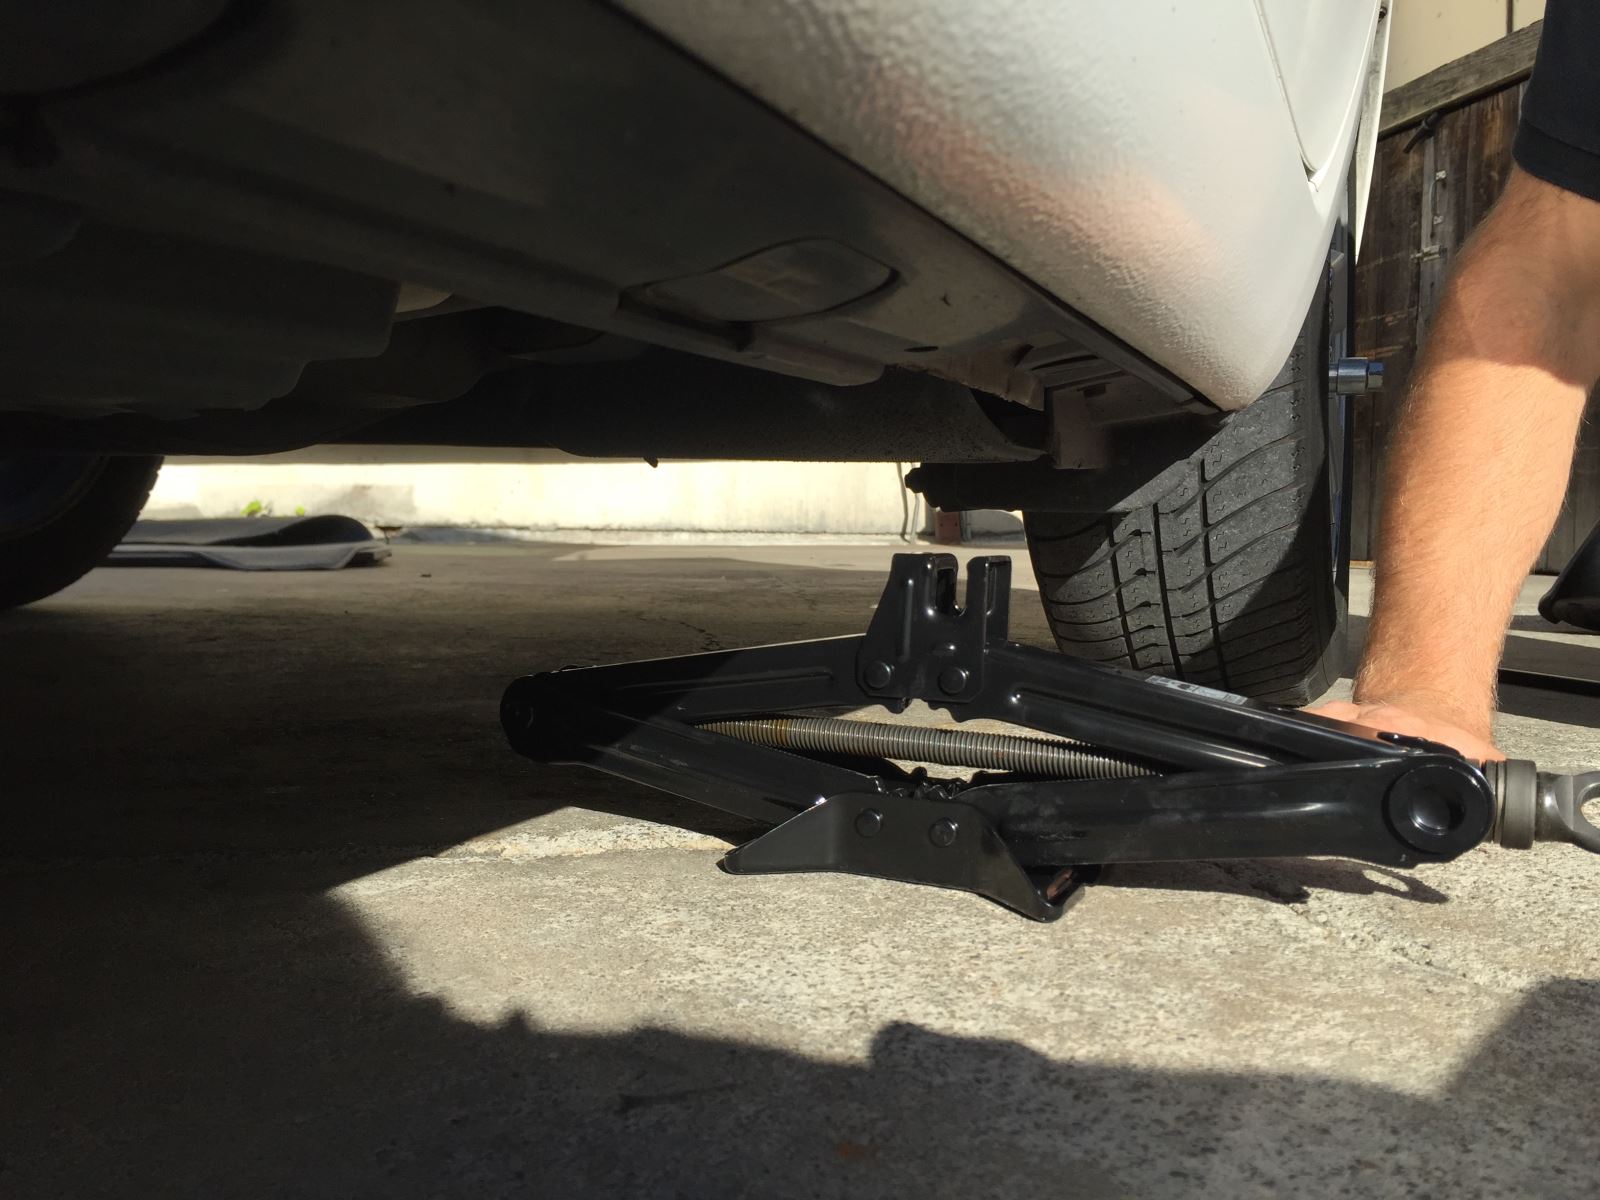
6. Set the jack under the vehicle and lift it
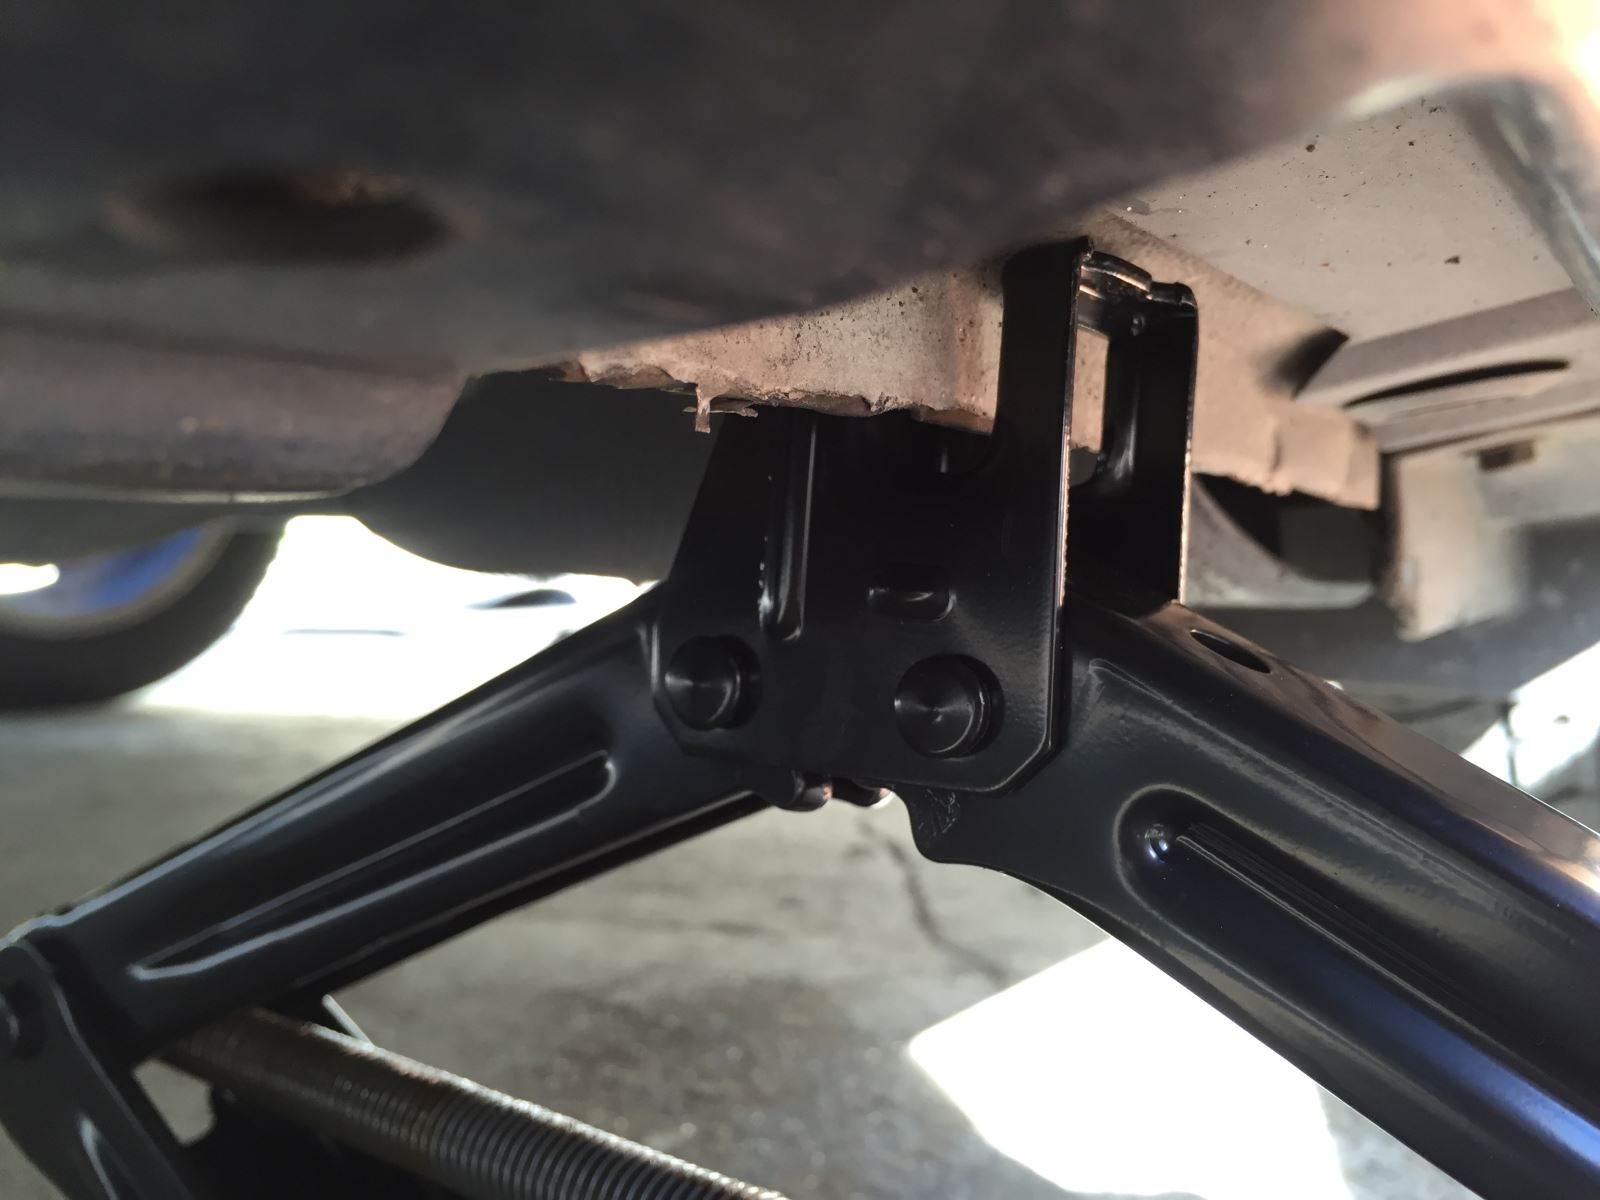
Placement of the under the vehicle is important. Under most passenger cars you will either find the “pinch weld” or a rubber pad in front of the rear tire about 12 inches or behind the front tire about 12 inches. On top of the jack, it will either be shaped to accommodate the pinch weld or the pad under the vehicle.
Make sure the bottom of the jack is on firm ground. While you lift the car, be sure that the jack doesn’t start leaning or it could end up falling while you are working under the car. This could lead to vehicle damage or bodily injury, be careful.
It is also recommended not to have anyone in or near the vehicle incase the jack fails or if the car it shaken. The jack is not very sturdy and if the car falls it can cause great bodily injury.
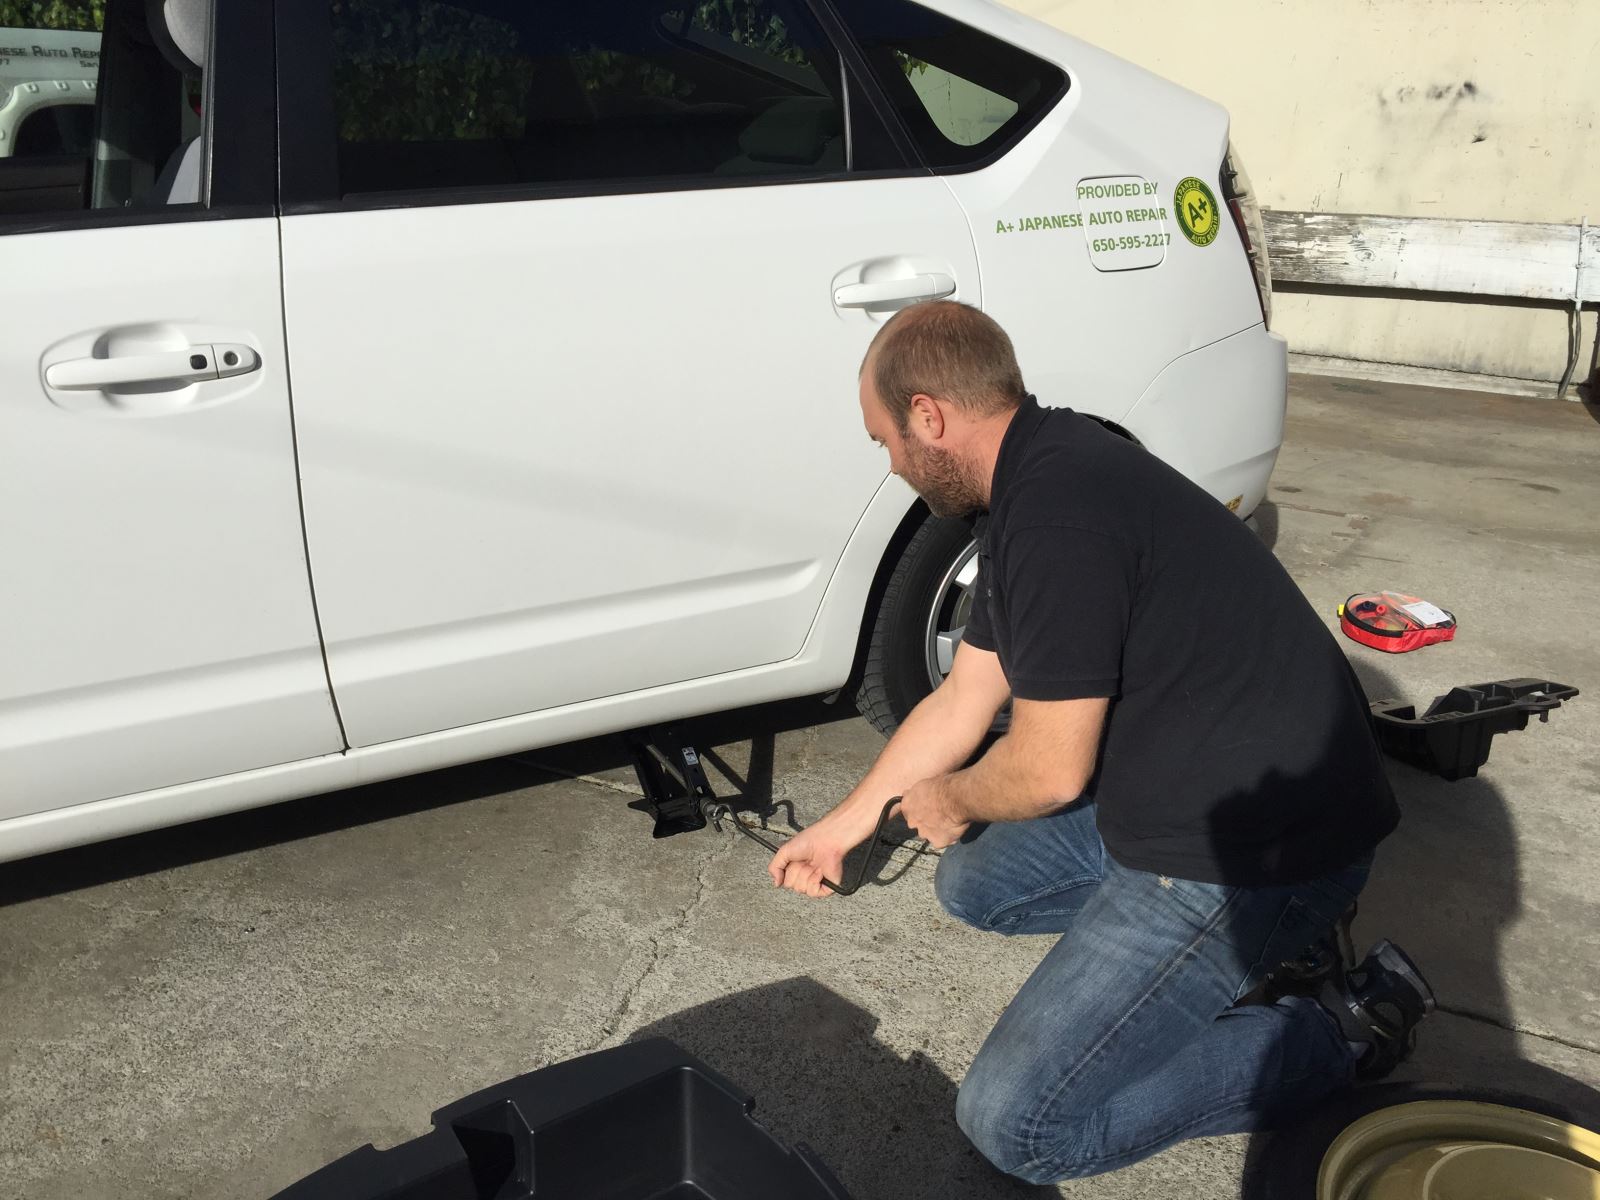
To lift the vehicle, put the jack handle into the jack and turn the jack screw to the right. When you lower the car you will need to turn the jack to the left.
Lift the vehicle far enough that it will allow the new fully inflated spare tire to be installed.
7. Remove the flat tire and put on the spare tire
Now remove the lug nuts on the flat tire completely. Remove the flat tire from the vehicle and install the spare tire. Install the lug nuts and tighten all the way by hand if you can.
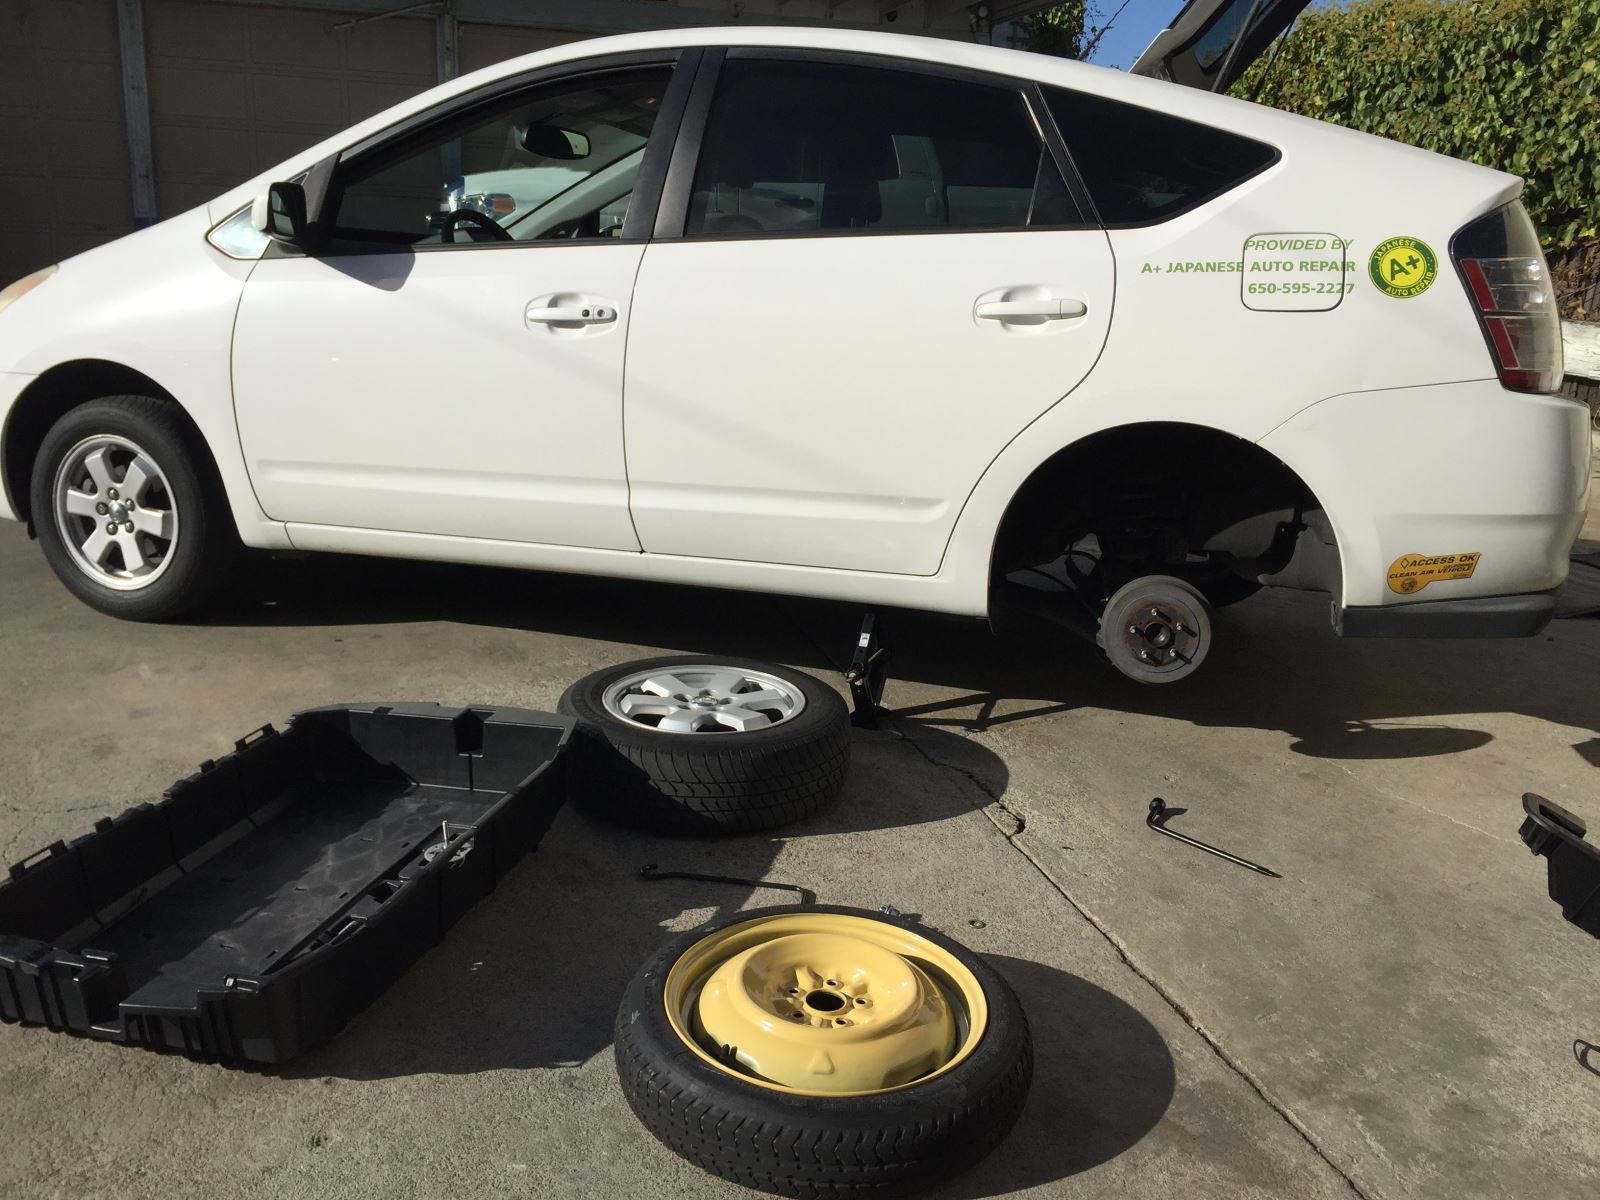
8. Lower the car and torque the spare tire lug nuts
The tire should be secure now but not yet torqued. Lower the jack so the car is resting on the spare tire. Use the tire wrench to torque the lug nuts clockwise. A rule of thumb on how tight the nuts should be…. pull the wrench toward you with as much strength you have in your arms but you don’t need to use your whole body. (Most lug nuts will require 80-120 lbs of torque.)
.JPG)
9. Put away all tools and flat tire
Put the flat tire where you got the spare from. Then put the tools back where you found them.
10. One more look and get back on the road!!
So, it sounds like you have done all of the necessary items. Check that spare tire and make sure it isn’t flat. Since we don’t use the spare tire that often, there is a possibility that your spare might also be low or flat.
All spare tires have different speed ratings. If your spare tire is smaller than the vehicle’s regular tire then your vehicle speed should not exceed 55 mph.
Lastly, call your local mechanic and get your damaged tire checked out. It might be able to be fixed or you may need to purchase a new tire.

Learn how we fix a flat tire.
Safe Travels!
Eric Sevim - ASE Master Certified Technician - 15 years experience
A+ Japanese Auto Repair
780 Industrial Road
San Carlos CA 94070
https://aplusjapaneseautorepair.com
650-595-2277
--
Disclaimer: This article is provided for general informational purposes only. It is not intended as advice for your particular vehicle, and should not be relied upon for that purpose. Please consult a qualified automotive maintenance professional to determine the maintenance and repair needs for your vehicle.